Part of prepping is learning (and recording or remembering) easy recipes that allow you to can and store the foods that you can grow at home. This is an easy recipe that you can do right now, so if (or when) the grid goes down, you’ll have an inventory of sweet raspberry jam.
When SHTF, it will be the little things!
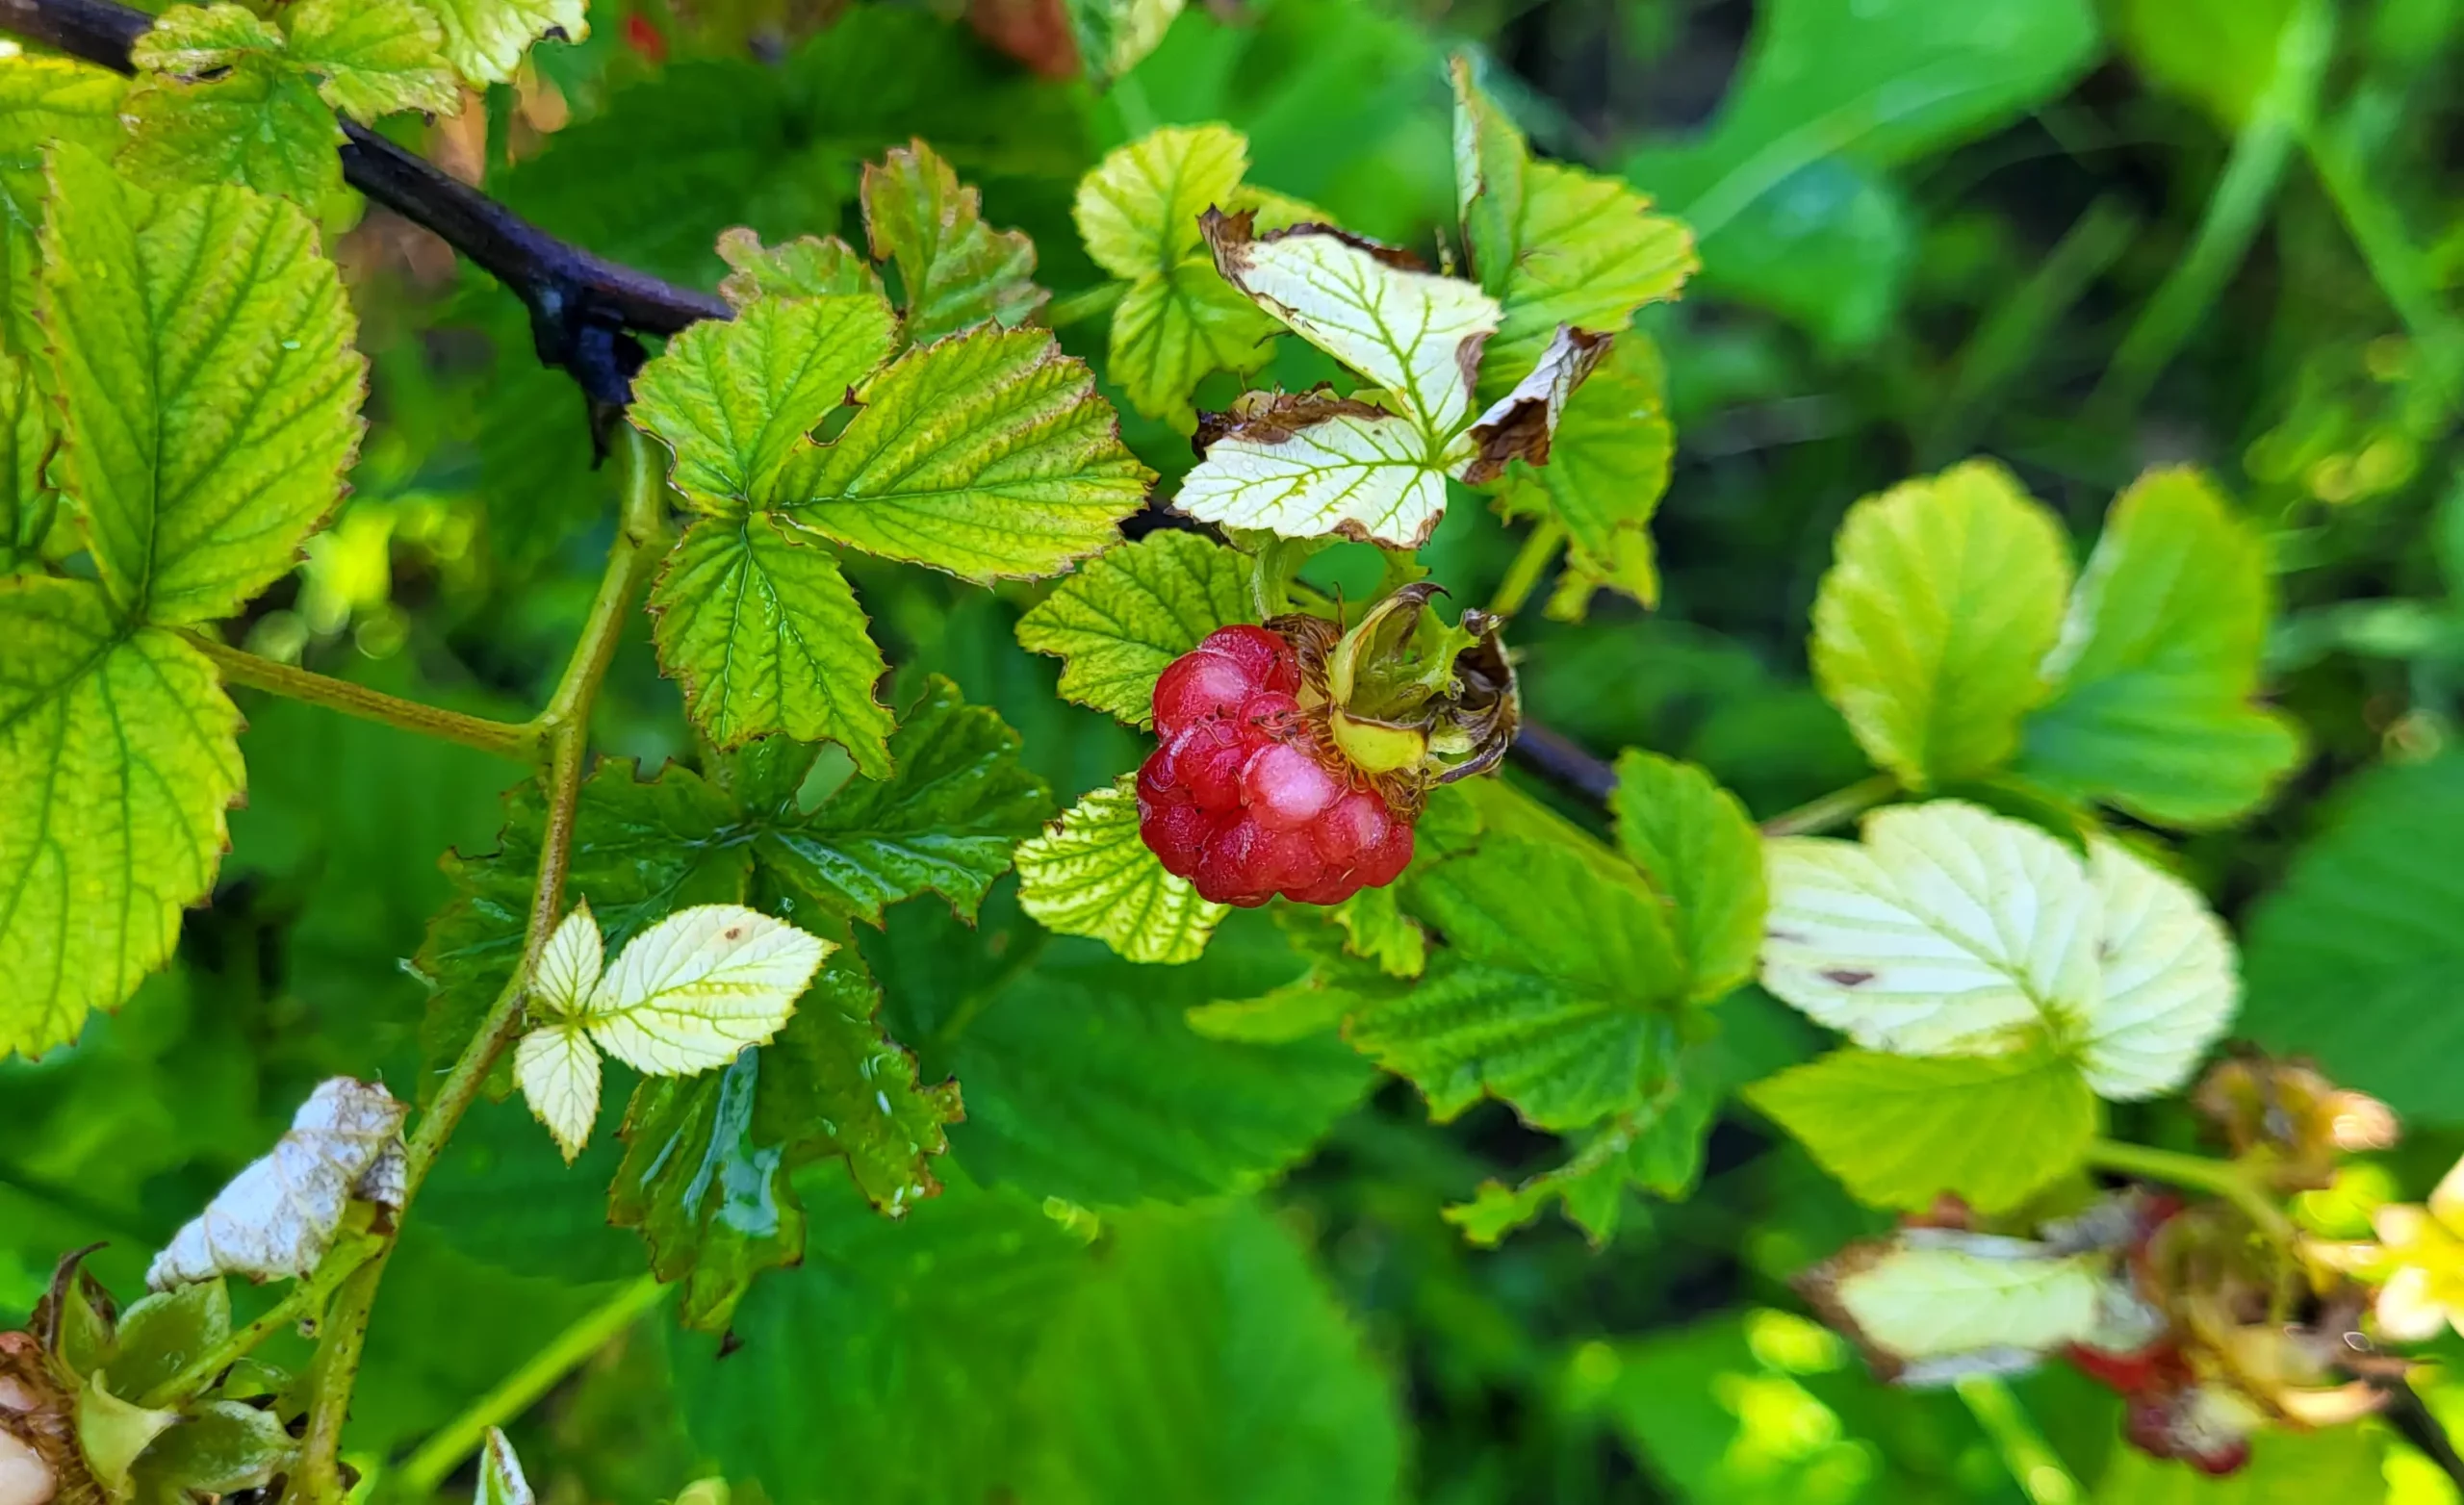
If you do not have raspberry bushes on your property, we highly recommend planting them at the next opportunity. Raspberry bushes can basically take care of themselves and they spread like crazy. In our experience in growing zone 4 (Montana), first year bushes will not produce well, but year 2 and beyond they produce and continue to spread, almost like weeds.
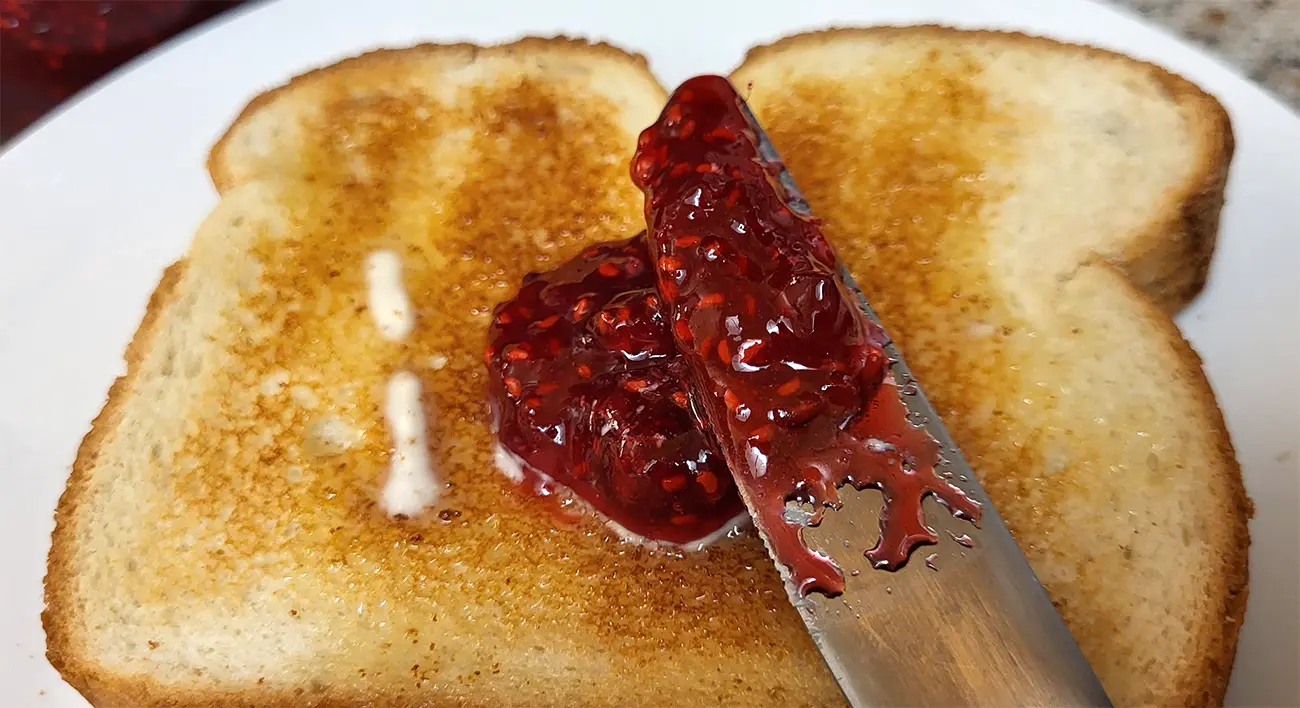
 Make your mornings absolutely delightful with this simple and fresh Raspberry Jam Recipe for Canning. Follow these easy steps to stock your pantry with delicious homemade jam that will elevate your off-grid breakfast to a whole new level!
Prep Time: 20 minutes
Cook Time: 15 minutes
Total Time: 35 minutes
Servings: Makes approximately 64 ounces (Eight 8 oz. jars)
Ingredients:
- 5 Cups Fresh Raspberries (use a standard measuring cup)
- 6 cups Granulated Sugar
- 1 Packet (1.75 oz.) Original Sure-Jell Premium Fruit Pectin Powder
- 2 Tbsp. Lemon Juice
NOTE* Some recipes include butter, but we leave that one out. Gramma always said to never can with dairy of any kind. We listen to gramma.
Instructions:
- Prepare the Canning Equipment: Wash the canning jars, lids, and bands in hot soapy water and dry them thoroughly. Set the bands aside. Simmer the lids in warm water in a saucepan until you’re ready to place them on the jars. Keep the jars warm by simmering them in hot water, but do not boil. Another method is to ut the jars and bands in the oven on 180 and leave them there until ready.
- Crush the Raspberries: In a large mixing bowl or shallow glass baking dish, use a hand masher to crush the raspberries until you achieve a nice, smooth consistency. Small chunks are okay. We also leave the seeds in. This ads a nice little crunch. If you prefer to remove seeds, use a cheesecloth or somethin similar to filter after crushing.
- Combine the Ingredients: Transfer the crushed raspberries to an 8 or 10 qt stock pot. Add the pectin and lemon juice to the pot, and stir constantly with a wooden spoon over high heat until it reaches a rolling boil.
- Add Sugar and Boil: Once the mixture is boiling, add the sugar and return to a rolling boil. Continue boiling for about 1 minute, stirring constantly, then turn the heat off.
- Remove Foam: After sitting for about 1 minute, skim off any foam that forms on the top of the jam using a metal spoon.
- Fill the Jars: If boiling, take out the jars and dry them all off completely. If you had them in the oven, take them out and place on a cookie sheet to catch any spills. Position a regular mouth canning funnel on top. Ladle the raspberry jam mixture into the jar, leaving about 1/4 inch of empty headspace at the top. Wipe off the rim of the jar and threads with a damp cloth to remove anything and then make sure it’s dry.
- Repeat Filling Process: Continue filling all the jars in the same manner until all the raspberry jam has been used up.
- Secure Lids and Bands: Take warm lids from the saucepan using a magnetic lid lifter (clean hands can work just fine as well) and place one lid on each jar. Screw on the bands just until snug, not overly tight.
- Process the Jars: Place the filled jars on a rack in a 20-quart stock pot or water bath canner. Lower the pot into hot water, ensuring that there is at least 1 inch of water above the jars. Add more HOT water if necessary.
- Boil and Process: Put the lid on the pot and bring the water to a gentle boil. The processing time will vary depending on your altitude:
-
- for altitudes 0-1,000 feet, boil for 10 minutes;
- for 1,001-3,000 feet, boil for 15 minutes;
- for 3,001-6,000 feet, boil for 20 minutes;
- for 6,001-8,000 feet, boil for 25 minutes;
- and for 8,001 feet and above, boil for 30 minutes.
-
-
Easy Raspberry Jam Recipe Cool and Seal: After the appropriate processing time, turn off the heat, remove the lid, and let the jars sit for 5 minutes. Lift the rack to an elevated resting position, then carefully remove the jars one by one using a jar lifter and transfer them to a folded towel to cool.
- Sealing and Storage: As the jars cool, you’ll hear the lids ‘pop’ into the sealed position, indicating successful preservation. If any lids do not pop within 12-24 hours, store those jars in the refrigerator and use them up first. The jam may take up to 24-48 hours to finish setting.
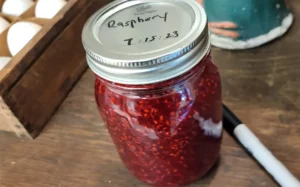
- Shelf Life and Enjoyment: Your homemade Raspberry Jam can be stored in your pantry or a cool, dry cupboard for up to 1 year. Remember to label each lid with the type of jam and the date it was made. Remove the bands when storing, and avoid stacking jars on top of each other. Always check the lids before using to ensure the seals are good. When you’re ready to indulge, transfer a jar to your refrigerator and use it within 1 month.

Enjoy!