If you are looking for a quick, no BS way to can chili beans for your preps, jump to this recipe.
The best way to enjoy beans without worrying about spoilage or flavor loss, or having to buy them at the store, is to can your own chili beans. You’ll need a pressure canner and several hours of time on your hands, but when you’re done you’ll have delicious chili beans that you can eat all winter long without paying an arm and a leg at the grocery store! Here’s how to can chili beans in a few easy steps!
Step 1: Prepare Your Ingredients
Whether you’re using fresh or canned chili beans, you’ll need to start by preparing your ingredients. If you’re using fresh beans, you’ll need to cook them until they’re soft. Then, drain and rinse the beans. In order to make sure that the beans don’t stick together in one big clump, you could spread them out on a cookie sheet lined with parchment paper before placing them in an oven set at 200 degrees Fahrenheit.
For canned beans, simply drain and rinse them off before proceeding with this step. The second step is to prepare the other ingredients. You will need chopped onion, chopped garlic cloves, salt, water (enough to cover all of the ingredients), and vegetable oil. Mix these all together in a large pot over medium-high heat. Bring it to a boil, then lower the heat so that it’s simmering. Stir occasionally so that nothing sticks to the bottom of the pan. Add some tomato sauce if desired and let it simmer for about two hours.
Step 2: Prepare Your Beans
Start by soaking your beans overnight. This will help them cook evenly and prevent them from splitting. the next day, drain and rinse the beans before adding them to a large pot with fresh water. Bring the beans to a boil, then reduce the heat and simmer for about an hour.
While the beans are cooking, prepare your canning jars by sterilizing them in boiling water. Once the beans are cooked, add them to the jars, leaving about an inch of headspace at the top.
Step 3: Boil Spices and Ingredients in Saucepan
Once the beans are cooked, it’s time to add the spices. We like to use a combination of chili powder, cumin, garlic powder, and salt. Give everything a good stir and let the spices cook in the saucepan for about five minutes. This will give them time to release their flavor and meld with the other ingredients. You can adjust how spicy you want your chili by adding more or less of any one spice.
Fruits and vegetables can also be added if desired, such as corn or tomatoes (which we think make this dish super tasty). Be sure to taste test your dish at this point so that you know it has enough seasoning.
Step 4: Mix Well, Ladle Into Jars, Put Lids On, Process in Water Bath
Now that all of your ingredients are in the pot, it’s time to mix everything together. Use a wooden spoon to stir everything around until it’s evenly mixed. Then, use a ladle to fill each of your jars with chili beans, leaving about an inch of headspace at the top. Put the lids on each jar, and screw on the rings until they’re tight. Finally, place the jars in your water bath canner.
Jars can take anywhere between 15 mins to 30 mins to process. Pull them out of the water bath, set aside for multiple hours, or until you hear the tops start popping.
Step 6: Put Away Canned Products
Once jars are cool, make sure they have sealed. You should be able to gently push on the top of the jar and it will already sealed down. If the jar top pops when you push it, it may not have been sealed. Don’t throw this away! These will be good in the fridge for a couple weeks, or enjoy them tonight for dinner!
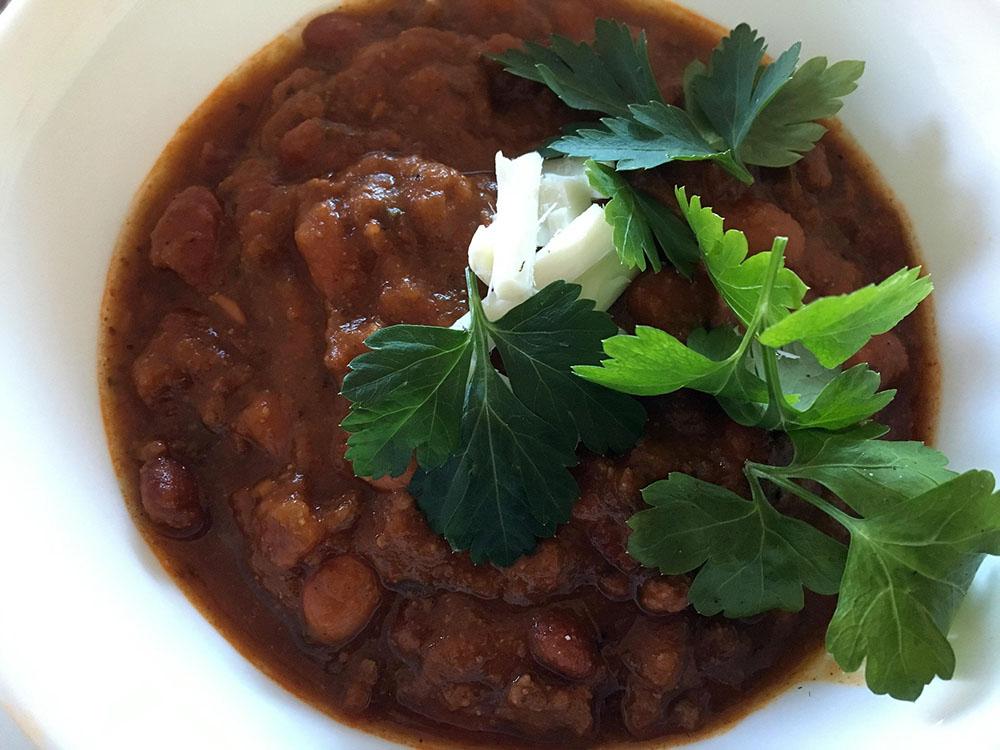
Chili beans make a great addition to any frugal meal plan. Canned chili beans can be used in a variety of recipes, including chili, soups, stews, and casseroles. Canning your own chili beans is a great way to save money and have a delicious, healthy meal on hand. They also come with the added bonus of being more convenient than buying canned products from the store, as you don’t need to worry about expiration dates or how many cans you need for a recipe. Keep these tips in mind when canning chili beans
 Canning Chili Beans
- 5 pounds dry pinto beans
- 2 tablespoons chili powder
- 2 teaspoons ground cumin
- 2 tablespoons paprika
- 1 teaspoon freshly ground black pepper
- 1 tablespoon coriander
- 1 teaspoon cayenne pepper
- 1 tablespoon garlic powder
- 1 teaspoon crushed red pepper
- 1 tablespoon sea salt
- 1 tablespoon dried oregano
- 4 more teaspoons sea salt to add to the jars
- Get started by soaking your dry pinto beans overnight, with 2 Tbsp of coarse kosher salt.
- Drain the beans into a large stockpot and cover them with fresh water. Bring to a soft boil and cook for 30 mins.
- Sterilize your pint pint jars and fill them to about 75%.
- Add 2 teaspoons of your blend of spices to each jar.
- Add some of the cooking water to each jar leaving 1-inch headspace.
- Add lids and rings hand tight.
- Process in a pressure canner for 60 minutes at about 10 lbs of pressure. You can also water seal these by boiling the sealed jars in water for 15 mins. They will not last quite as long, but we have kept water sealed beans for 2-3 years at a time.